Blisters are a common ailment on the Camino.
You may have experienced the odd blister before and wonder what the fuss is about, but on a long-distance route like the Camino de Santiago, they can become a real problem.
What Causes Blisters on the Camino?
The main culprits are heat, moisture, friction and poorly fitting footwear.
Extra care is needed during the summer months as temperatures rise and your feet are much more likely to get hot and sweaty.
This can cause small hot-spots to form. Under normal circumstances these would probably settle with rest. However, hiking long-distances back-to-back can cause them to develop into painful blisters.
Why Blisters Are Such a Problem on the Camino
Because the Camino is a multi-day hike (and most people have time constraints) blisters will have little time to heal. Attempting to walk 20-30 km with them can be agonising – I’ve experienced this a few times and it definitely puts a damper on the journey!
You may have to take some rest days, and if you haven’t allowed for these, you could struggle to make it to Santiago. As well as being painful blisters can also become infected, and that can put a complete halt to your Camino.
The best advice when it comes to blisters is to try and avoid them altogether.
Here are my top five tips for preventing blisters on the Camino:
1. Choose the correct footwear
Specialist hiking footwear is a must on the Camino de Santiago, and it’s worth allowing extra in your Camino budget to allow for this.
Many pilgrims these days opt for trail runners – which can be a great option as they are breathable, quick drying and lightweight. However, they may not offer sufficient protection on rocky and uneven ground. So, if you are undertaking a more mountainous route you may want to consider a traditional hiking shoe or boot.
Fashion trainers or general sports shoes are not designed to withstand multi-day hikes and are unlikely to protect your feet from rough terrain or poor weather.
Whether you decide on boots or shoes is a personal preference, but they should be comfortable, keep your feet dry and allow them to breathe. It’s easy to be tempted by cheap deals, but it’s usually best to go to a specialist shop and get expert advice.
Most importantly, you must break them in before you go! Make sure you buy them well in advance and test them out on some long walks at home.
2. Wear technical socks
It’s important to ensure you have good socks that are specifically designed for hiking.
These are usually made of merino wool or technical fabric that wicks sweat away from the skin, keeping your feet dry and comfy. You’ll want socks that keep your feet warm when it’s cold and cool when it’s hot.
Socks designed for trail running can also make a good choice. On my last Camino adventure a friend introduced me to Injinji toe socks, which worked a treat at preventing blisters between my toes.
3. Use microporous tape
This lightweight, breathable tape is typically used to hold dressings in place but can also help prevent blisters.
Before a blister forms, you’ll usually feel a hot-spot (an area of skin that is red and hot to the touch). As soon as you notice this, cover it with a small piece of microporous tape – this acts as a layer of protection and often prevents a blister from forming.
If you already have a blister, tape is unlikely to help. You’ll need to use a second-skin blister plaster, like Compeed, to promote healing and protect the skin from further damage.
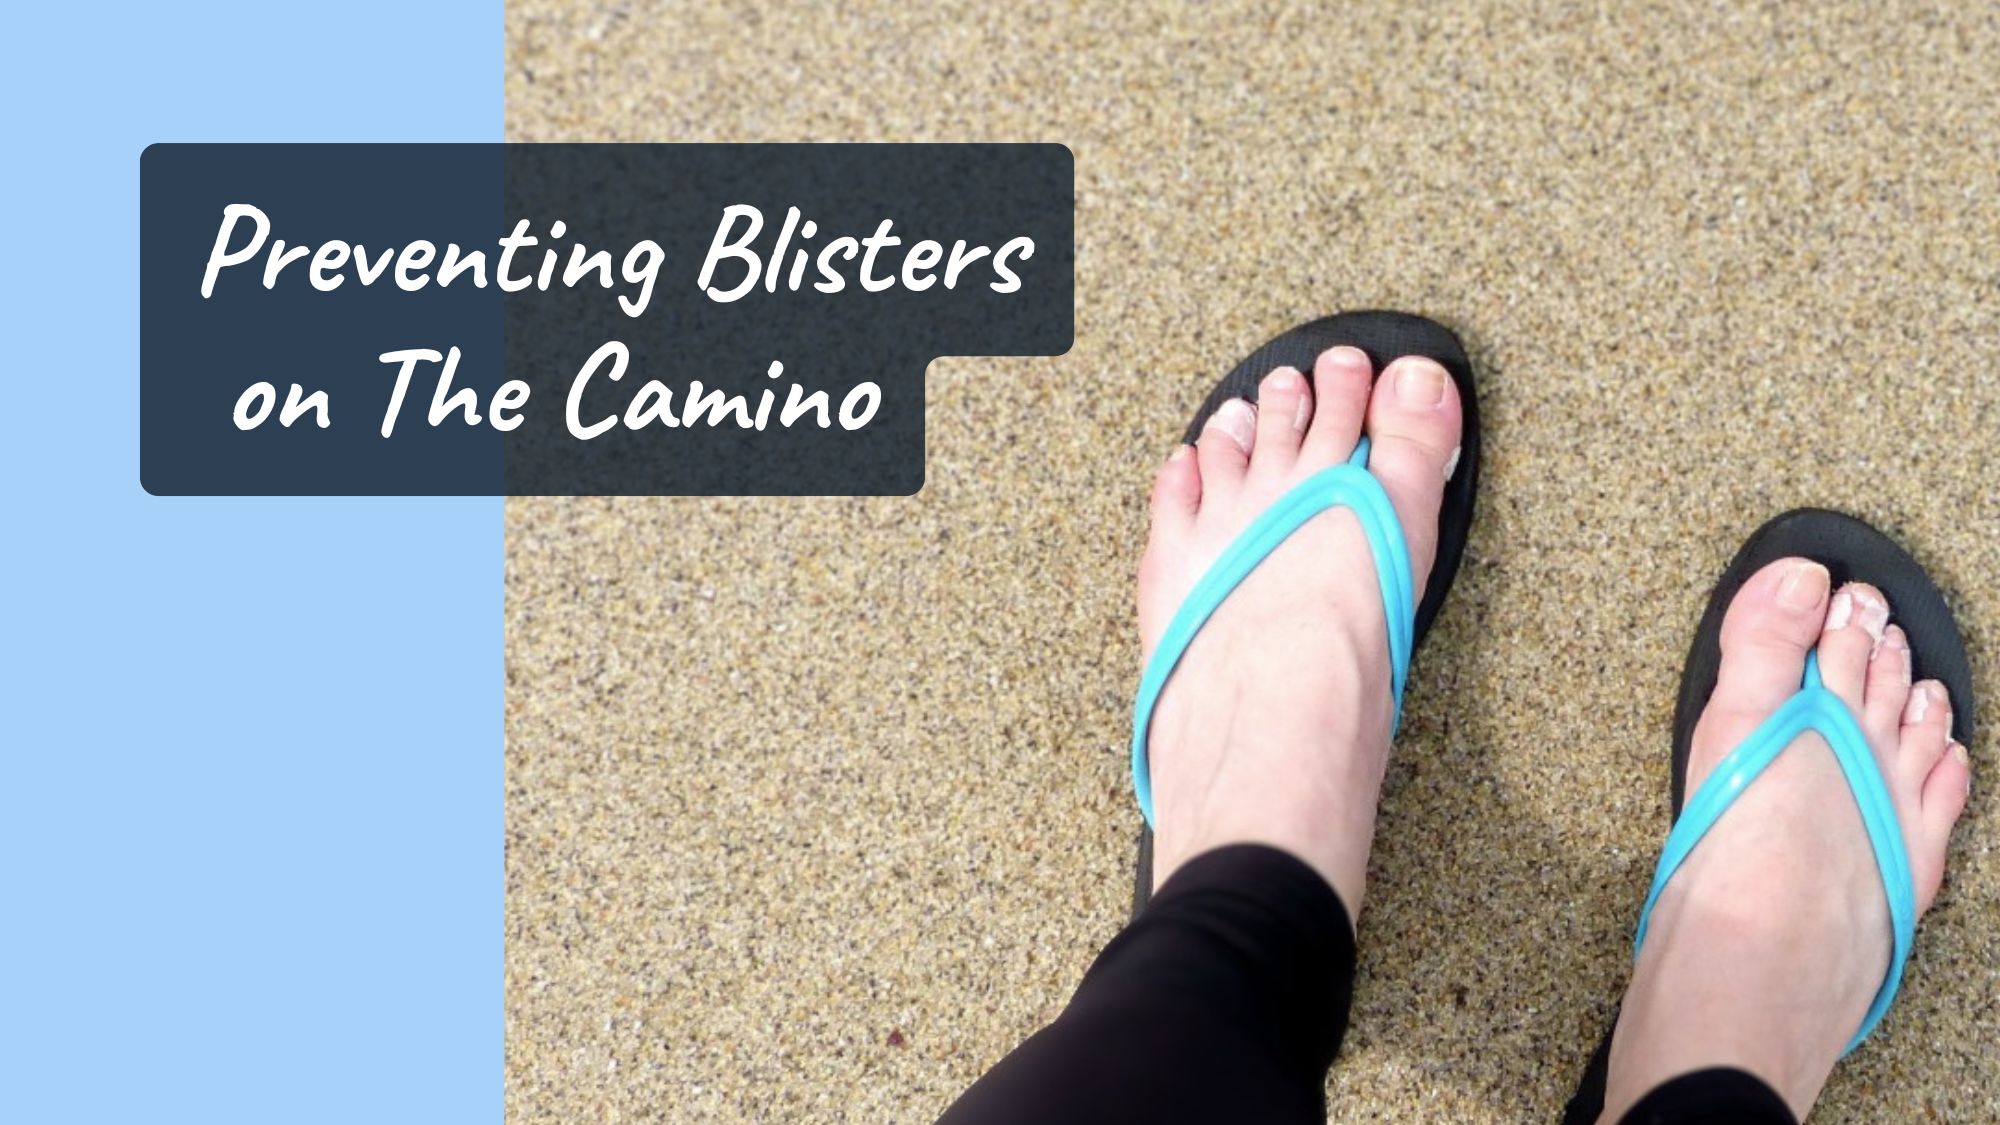
4. Let your feet breathe
Even with the best socks your feet will likely get a bit hot and sweaty, so it’s a good idea to let them breathe now and again. It can be difficult to tell what’s going on with your feet whilst walking, so when you get to a rest stop, take off your boots and let your feet air.
Pack some spare socks so you can change them if they get wet. Also, pack some flip-flops or sandals to put on when you arrive at your accommodation – you’ll want to get out of those boots and let your feet cool down.
5. Stop as soon as you feel anything!
Stone in your boot? Socks rubbing a bit?…
STOP! and sort it out. It’s very tempting when you’ve got a good pace going to ignore it and wait until you reach the next town or village, but by then, it’s usually too late.
Often, your feet won’t hurt until a couple of hours after the damage is done, so by the time the pain forces you to stop, you’ll already have some pretty impressive blisters forming. It’s better to stop, check your feet, and make some adjustments if needed.
What to Do If You Get a Blister
Although it’s best to try and avoid them, it’s likely (especially on one of the longer routes) that you will develop a blister at some point along the way. So, what do you do if this happens?
- Clean the area: When you arrive at your accommodation gently wash your feet and pat them dry with a clean towel – cool water can sometimes help reduce the swelling. Use your sandals inside to protect your feet from dirty floors. If you are mid-walk, then you can use a sterile or antiseptic wipe.
- Protect it: Once a blister has formed use a second skin plaster like Compeed to give an extra layer of protection. If the blister is still intact it’s usually best to leave it alone, as breaking the skin can increase the risk of infection.
- Avoid friction: You could try swapping to alternative footwear, for example if you have hiking sandals that don’t make contact with the area, it may allow you to continue walking whilst it heals.
- Rest: As frustrating as it can be this is the best and fastest way to heal blisters. Taking a day or two to let small blisters heal can prevent them from become a major issue down the road. That’s why I’d always advise including a few rest days in your itinerary.
What to Include in Your Foot Care Kit
Although it is possible to purchase the items you need at pharmacies along the route, carrying a basic footcare kit will mean you can respond more quickly to potential issues as they arise.
The items below are relatively lightweight and worth making some room for in your pack:
- Spare socks: Make sure you always have a spare pair of socks in your backpack. Changing socks mid-walk on a hot day will help keep your feet cool and sweat-free. If your feet get wet, having dry socks to change into will make all the difference.
- Microporous tape: Great for sticking over hot-spots to add an extra layer of protection, whilst still letting your feet breathe, not always easy to find so bring a couple of rolls from home.
- Second skin blister plasters (Compeed): Usually readily available in pharmacies on the Camino but can be expensive, so bring a couple of packs from home.
- Sterile/antiseptic wipes: Really handy if you need to stop mid-walk and clean your blisters.
Blisters can be annoying on the Camino, but they don’t have to be a major issue. With a bit preparation and little care along the way, you can stroll into Santiago with happy, healthy feet – ready for your next adventure!
Wondering what other kit you might need to prepare for the journey? Download your FREE Camino Packing List.